In the early days of my web site, I noticed that I was getting a lot of email
with questions about Cocker Spaniel
grooming. Some would ask what kind of electric clippers I recommend,
others were looking for instructions on exactly how to give a proper Cocker
haircut... and many people specifically asked if I knew of a video that
would teach people how to groom a Cocker. After about the 50th person
asked me that question about whether there was a video... I decided it was time to make my own DVD about how to groom Cockers!
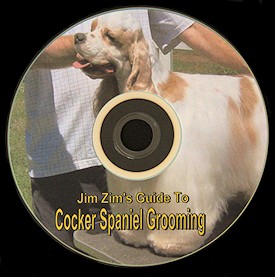
In 2007 I created the original version of my Cocker Spaniel
grooming DVD. I really didn't expect that very many people would ever see
it. I honestly thought I might sell 25 or maybe 50 at the most.
It turned out to be a little more popular than that! Apparently a
lot of people search on Google for "Cocker Spaniel Grooming tips" or "how to
groom a Cocker Spaniel" and other various phrases like that... and they
end up finding out about my DVD. I ended up selling hundreds and hundreds
of the grooming DVDs! As the years went by, my little DVD ended up
in homes all around the world... all over the USA and Canada, and from
Australia to South Africa to Singapore and India.
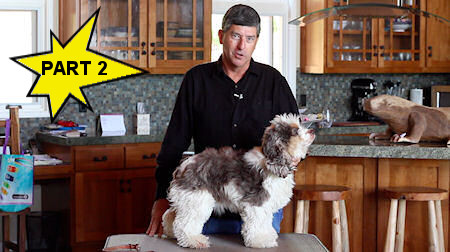
In 2011 I created a new-and-improved version of the grooming DVD, with some
significant improvements over the original. I shot the new version with a
much higher quality camera this time around, so the picture quality is
definitely better... and it's in widescreen (16:9) format, so it fills
the entire screen of today's high definition televisions. The 2007 version was shot in the old 4:3
screen format that was used back in the pre-HDTV days.
In the years since that original version of
the grooming DVD came out, I've made some very interesting new friends in the
Cocker Spaniel show world. One of them is not only an expert on show
dogs, she is also the publisher of a very well respected
magazine for Cocker lovers worldwide,
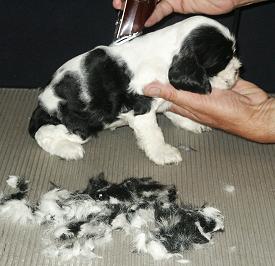
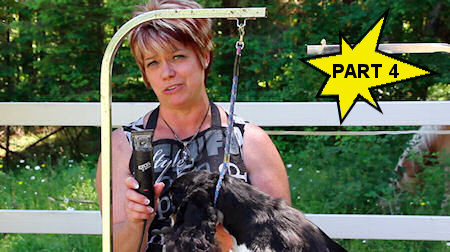
and a professional groomer, too. Her name is Eilene White, and she does a
very extensive grooming demonstration which I think is the highlight of the new
version of the video.
I also paid a little closer attention to the camera work
in the 2011 version. It always bothered me that in the 2007 version, there
were a few scenes where I was literally half way out of the picture when I was
talking on camera. Let's just say that there was a bit of a learning curve
for me when it came to framing the shots and then running around to the other
side of the camera to get in to them! I got that stuff right
this time around... so, hopefully, this version of the video will pass the test
of time and there won't ever need to be another new version!
The latest news is that I've decided to do an experiment
to see what happens if I distribute the grooming video for
free viewing via YouTube rather than selling a physical DVD. So, lucky you! Rather than having to
shell out $30 for the DVD (like people have been doing since 2007) you can watch
it for free... as long as you don't mind putting up with a few
advertisements. |